About
Who We Are
Our Story
Management Team
Our Equipment
Corporate Brochure
Services
Services We Provide
Feature Work
Currently Ongoing
Recently Completed
Testimonials
Clients
Projects
Sewer Projects
Water Projects
Hydro Projects
Gas Line Projects
District Energy Services
Large Diameter Storm Pipe
Site Service / Earthwork
Trenchless
Environmental
PRV Stations
Careers
Media
News and Events
Photos
Videos
Contact
Before and After Comparisons
Photo Gallery
back
|
1
to
4
of
4
BEFORE
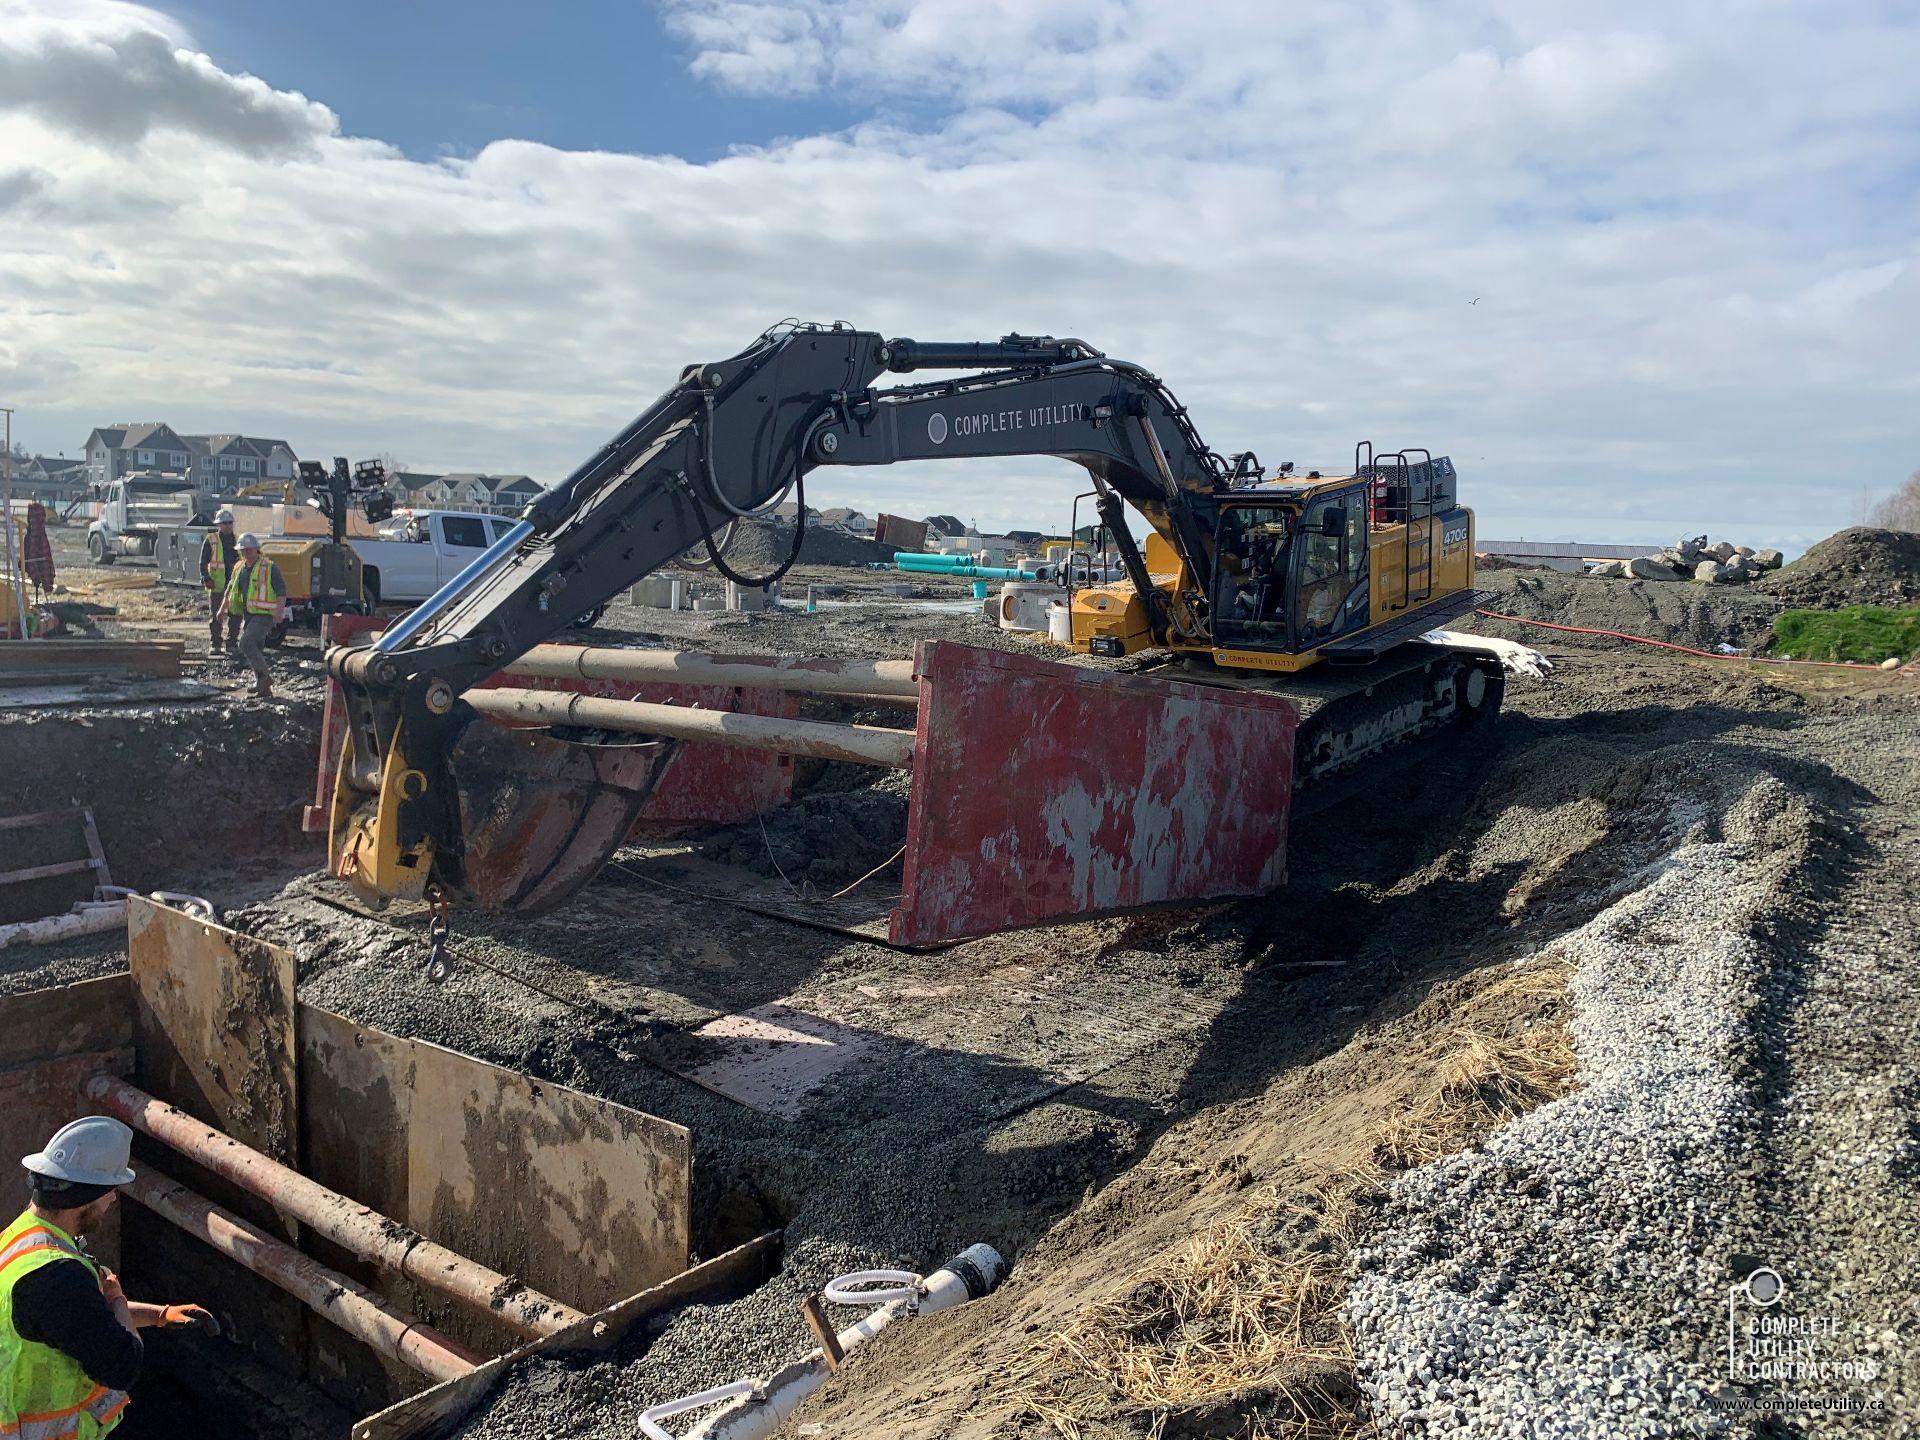
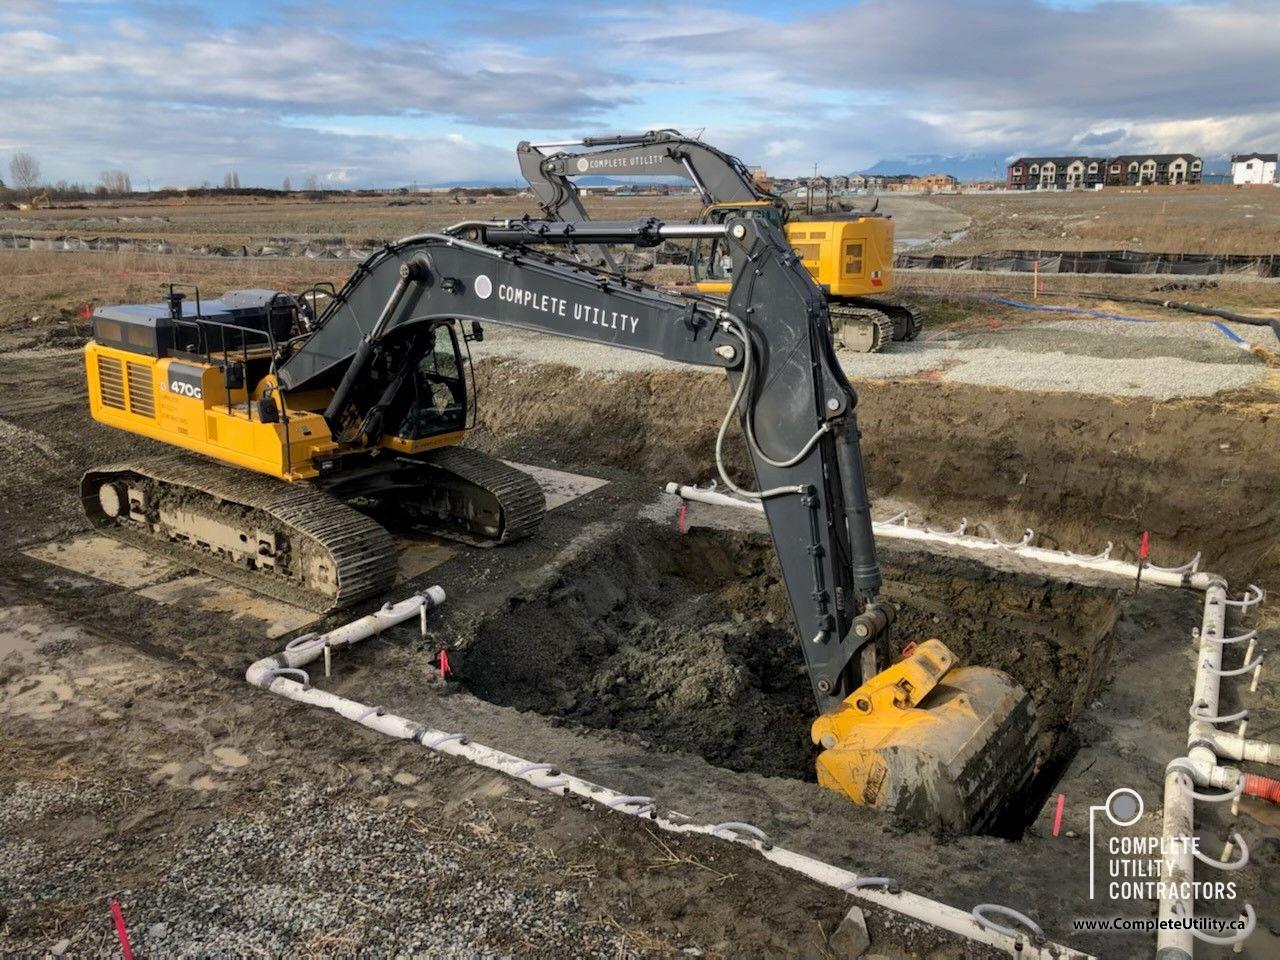
Utility Replacement and Installations
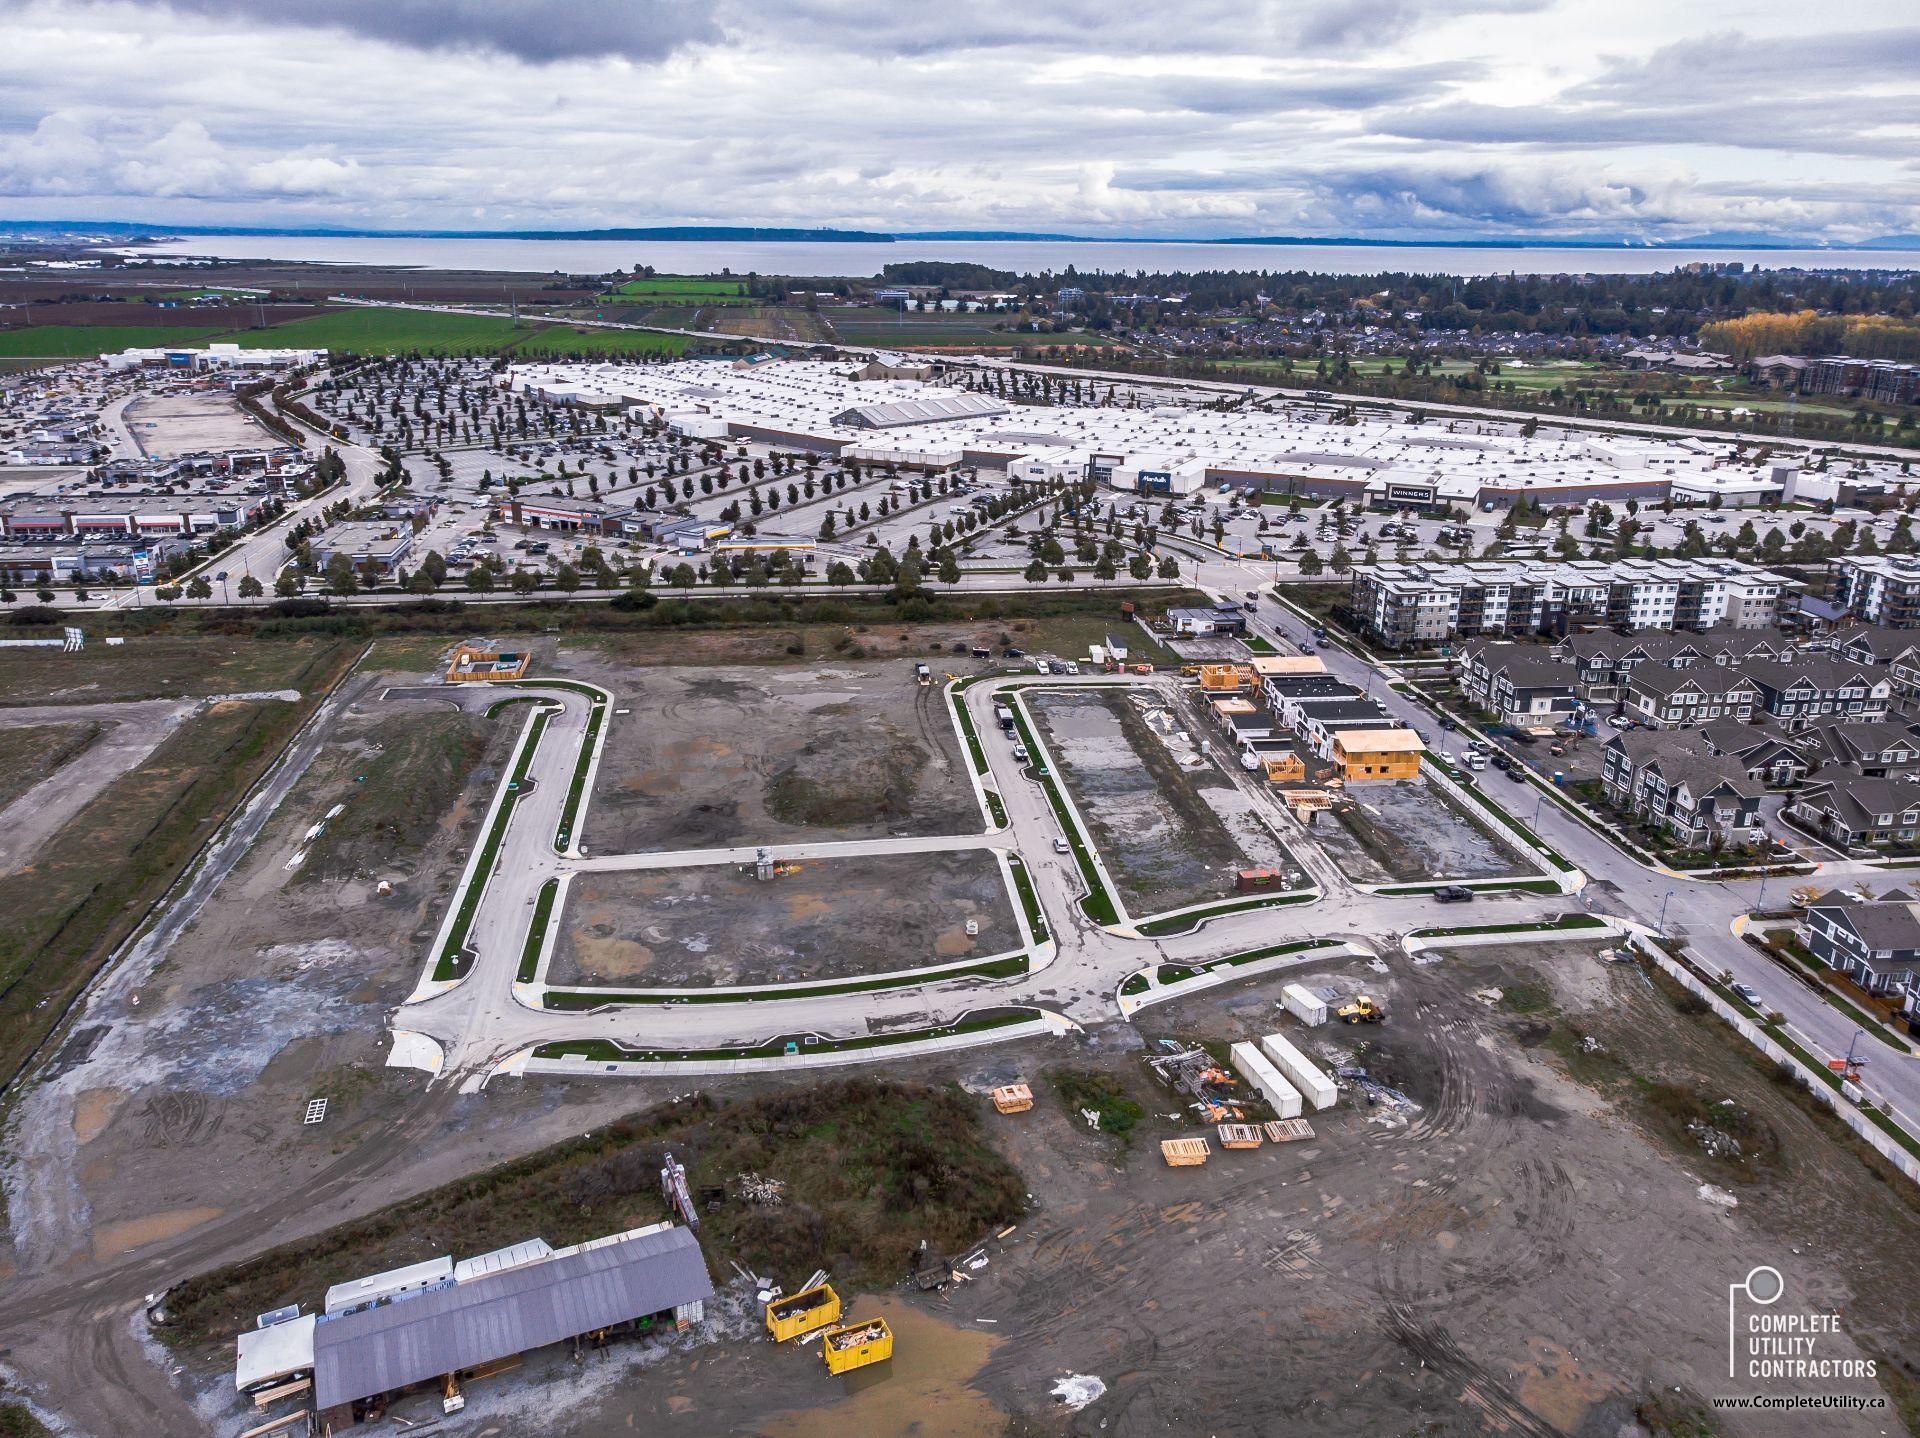
AFTER
Utility Replacement and Installations
Tsawwassen First Nations Precinct G1, Phase 1
BEFORE
Utility Replacement and Installations
AFTER
Utility Replacement and Installations
Tsawwassen First Nations Precinct G1, Phase 1
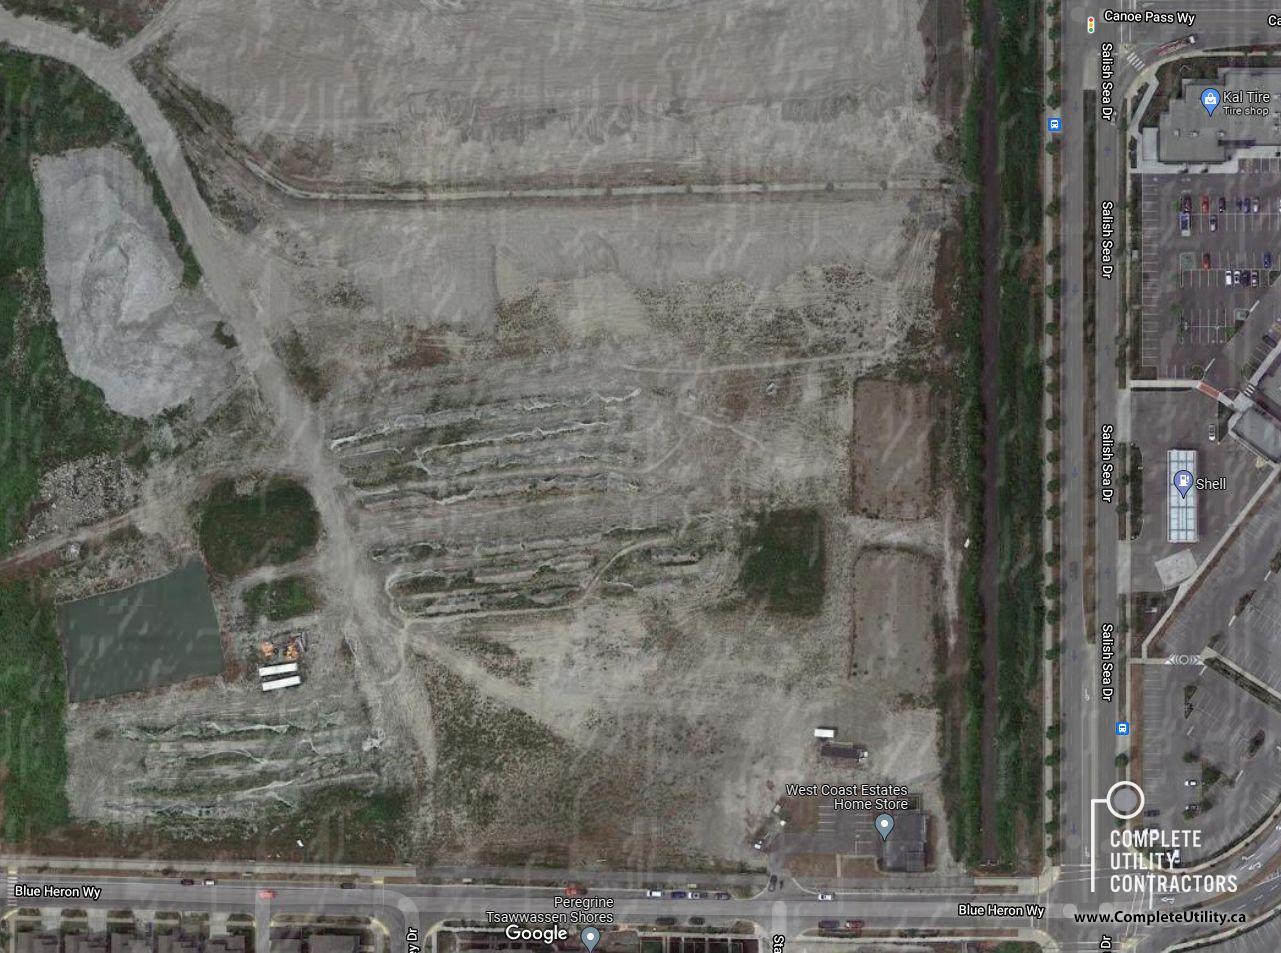
BEFORE
Utility Replacement and Installations
Google Maps view of the job site in Tsawwassen First Nations before our work began.
AFTER
Utility Replacement and Installations
Tsawwassen First Nations Precinct G1, Phase 1
BEFORE
Watermain Replacement and Installations
Google Maps view of the job site in Tsawwassen First Nations before our work began.
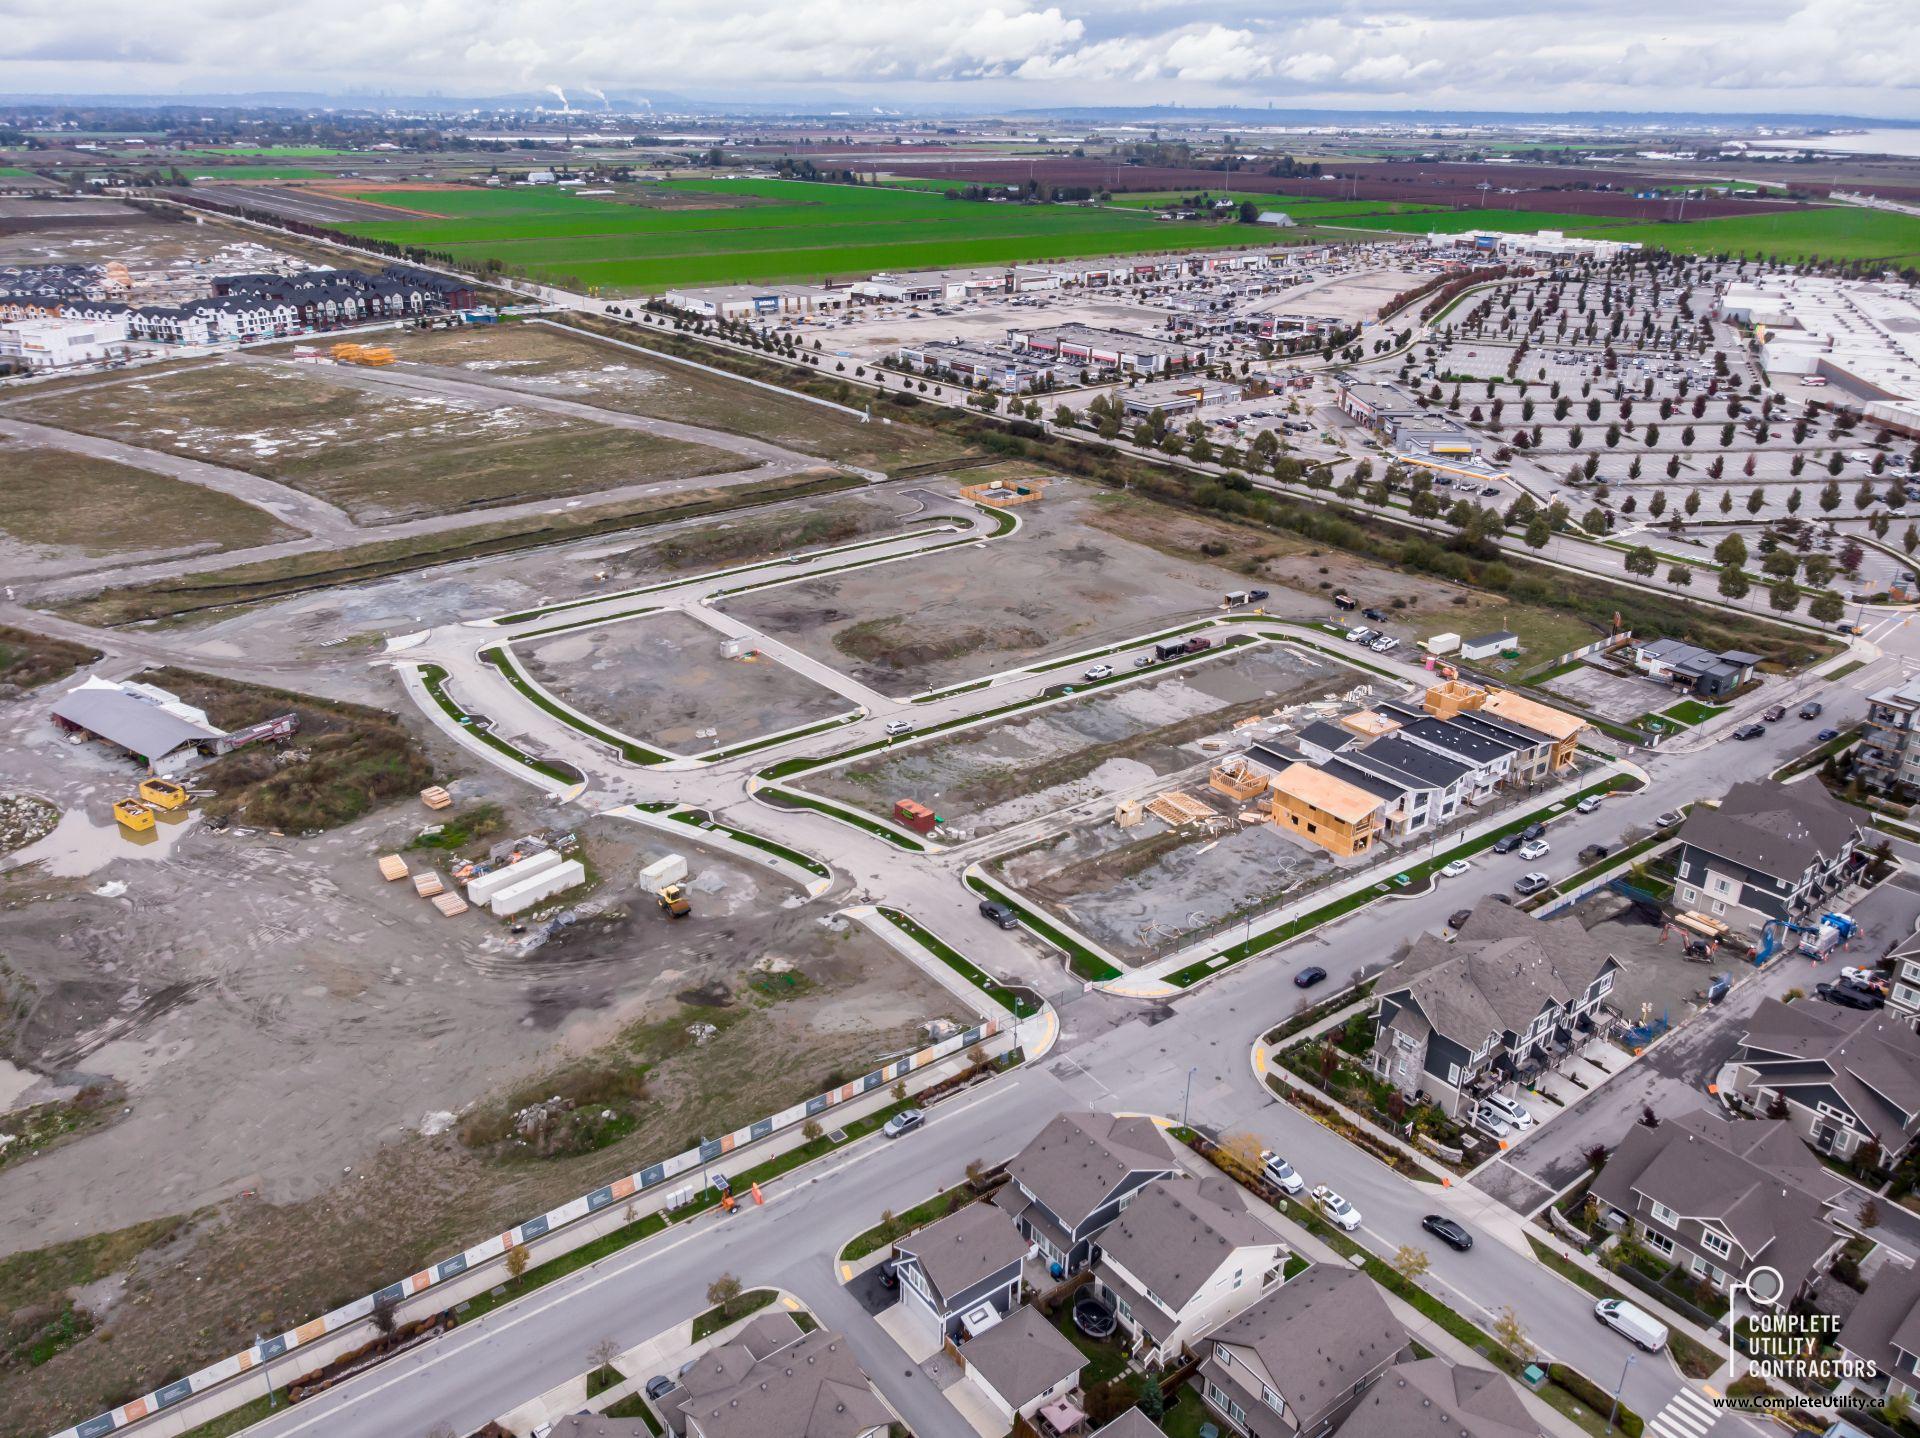
AFTER
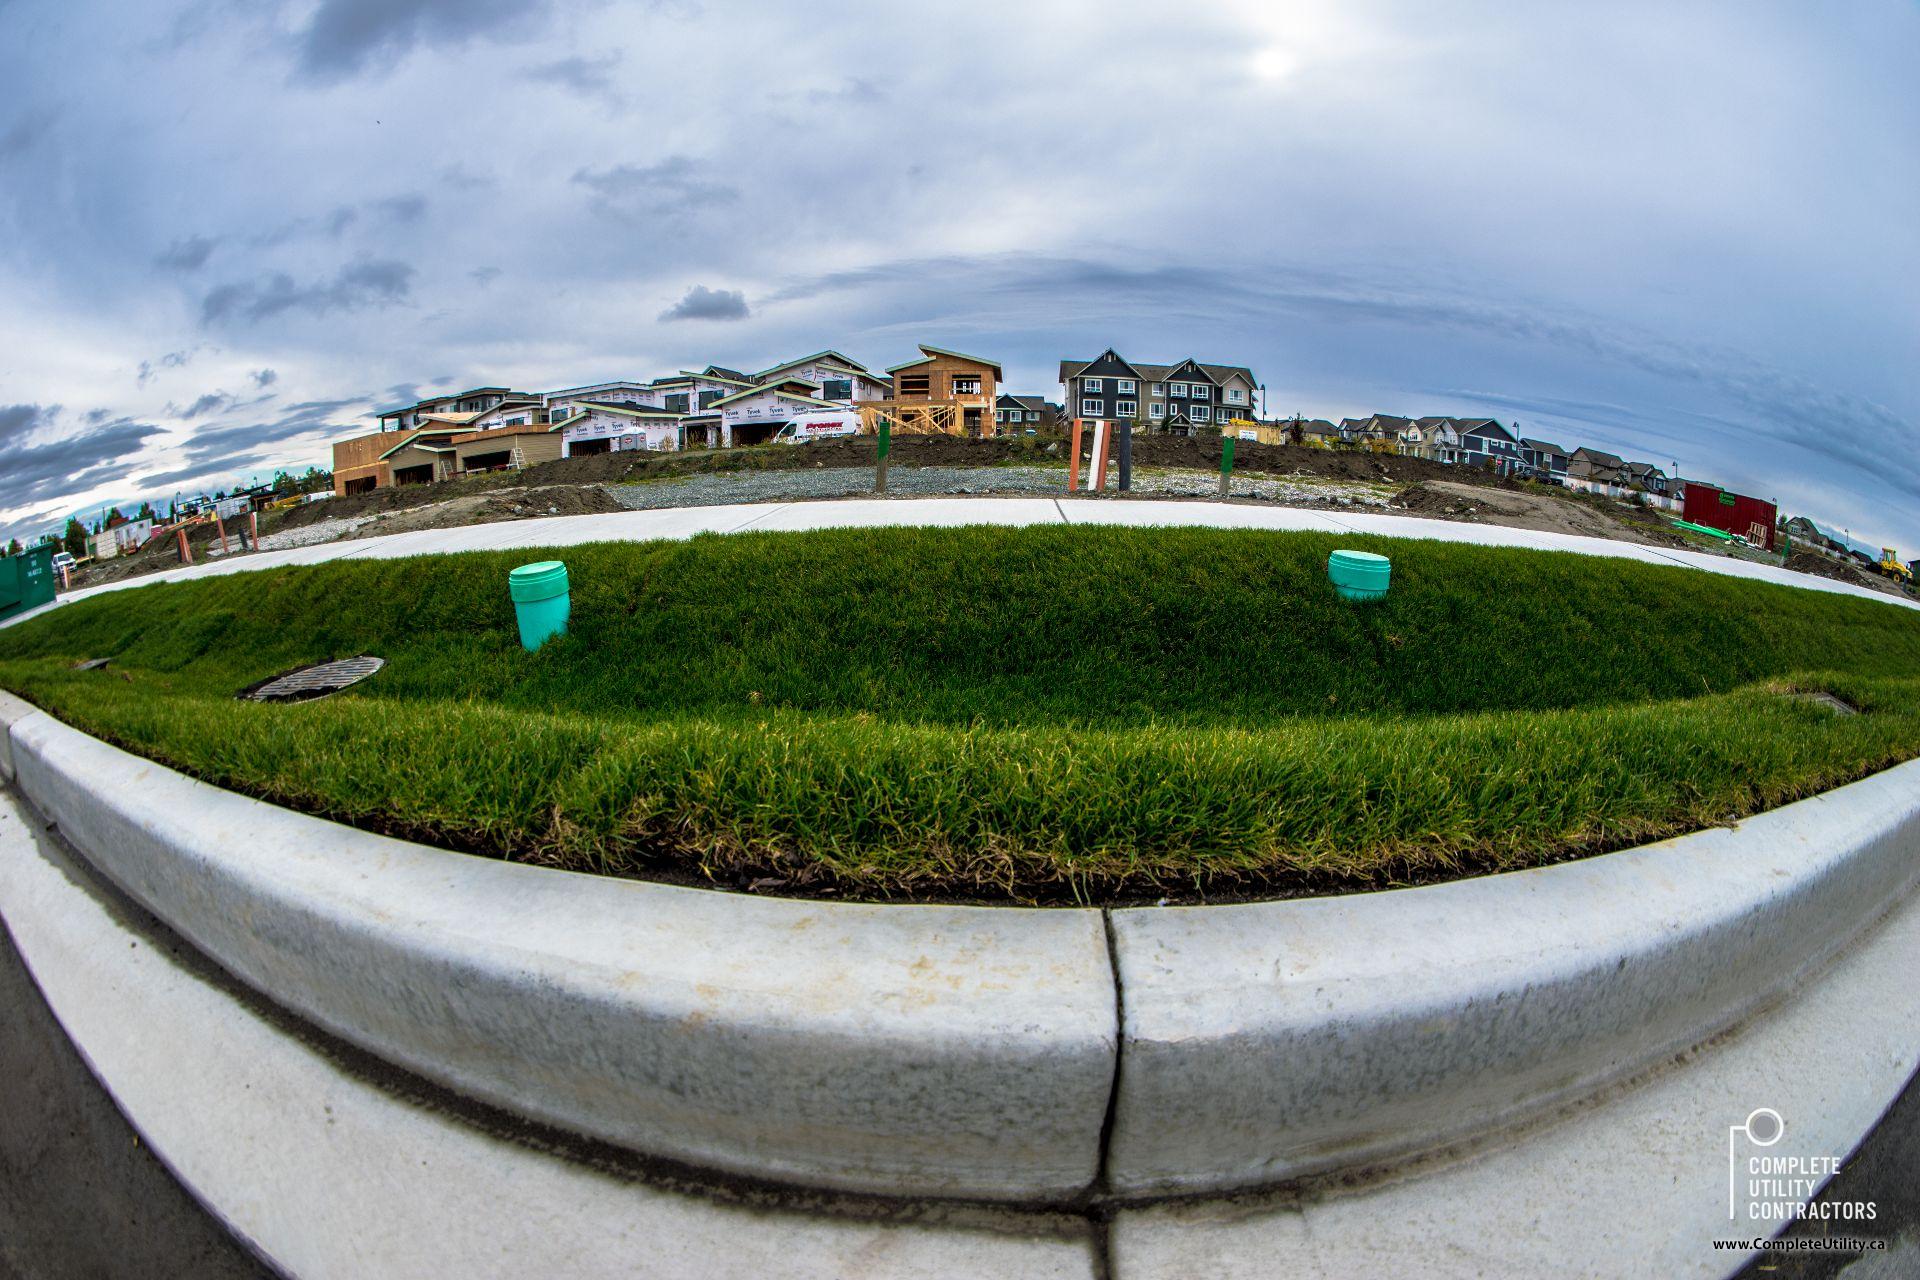
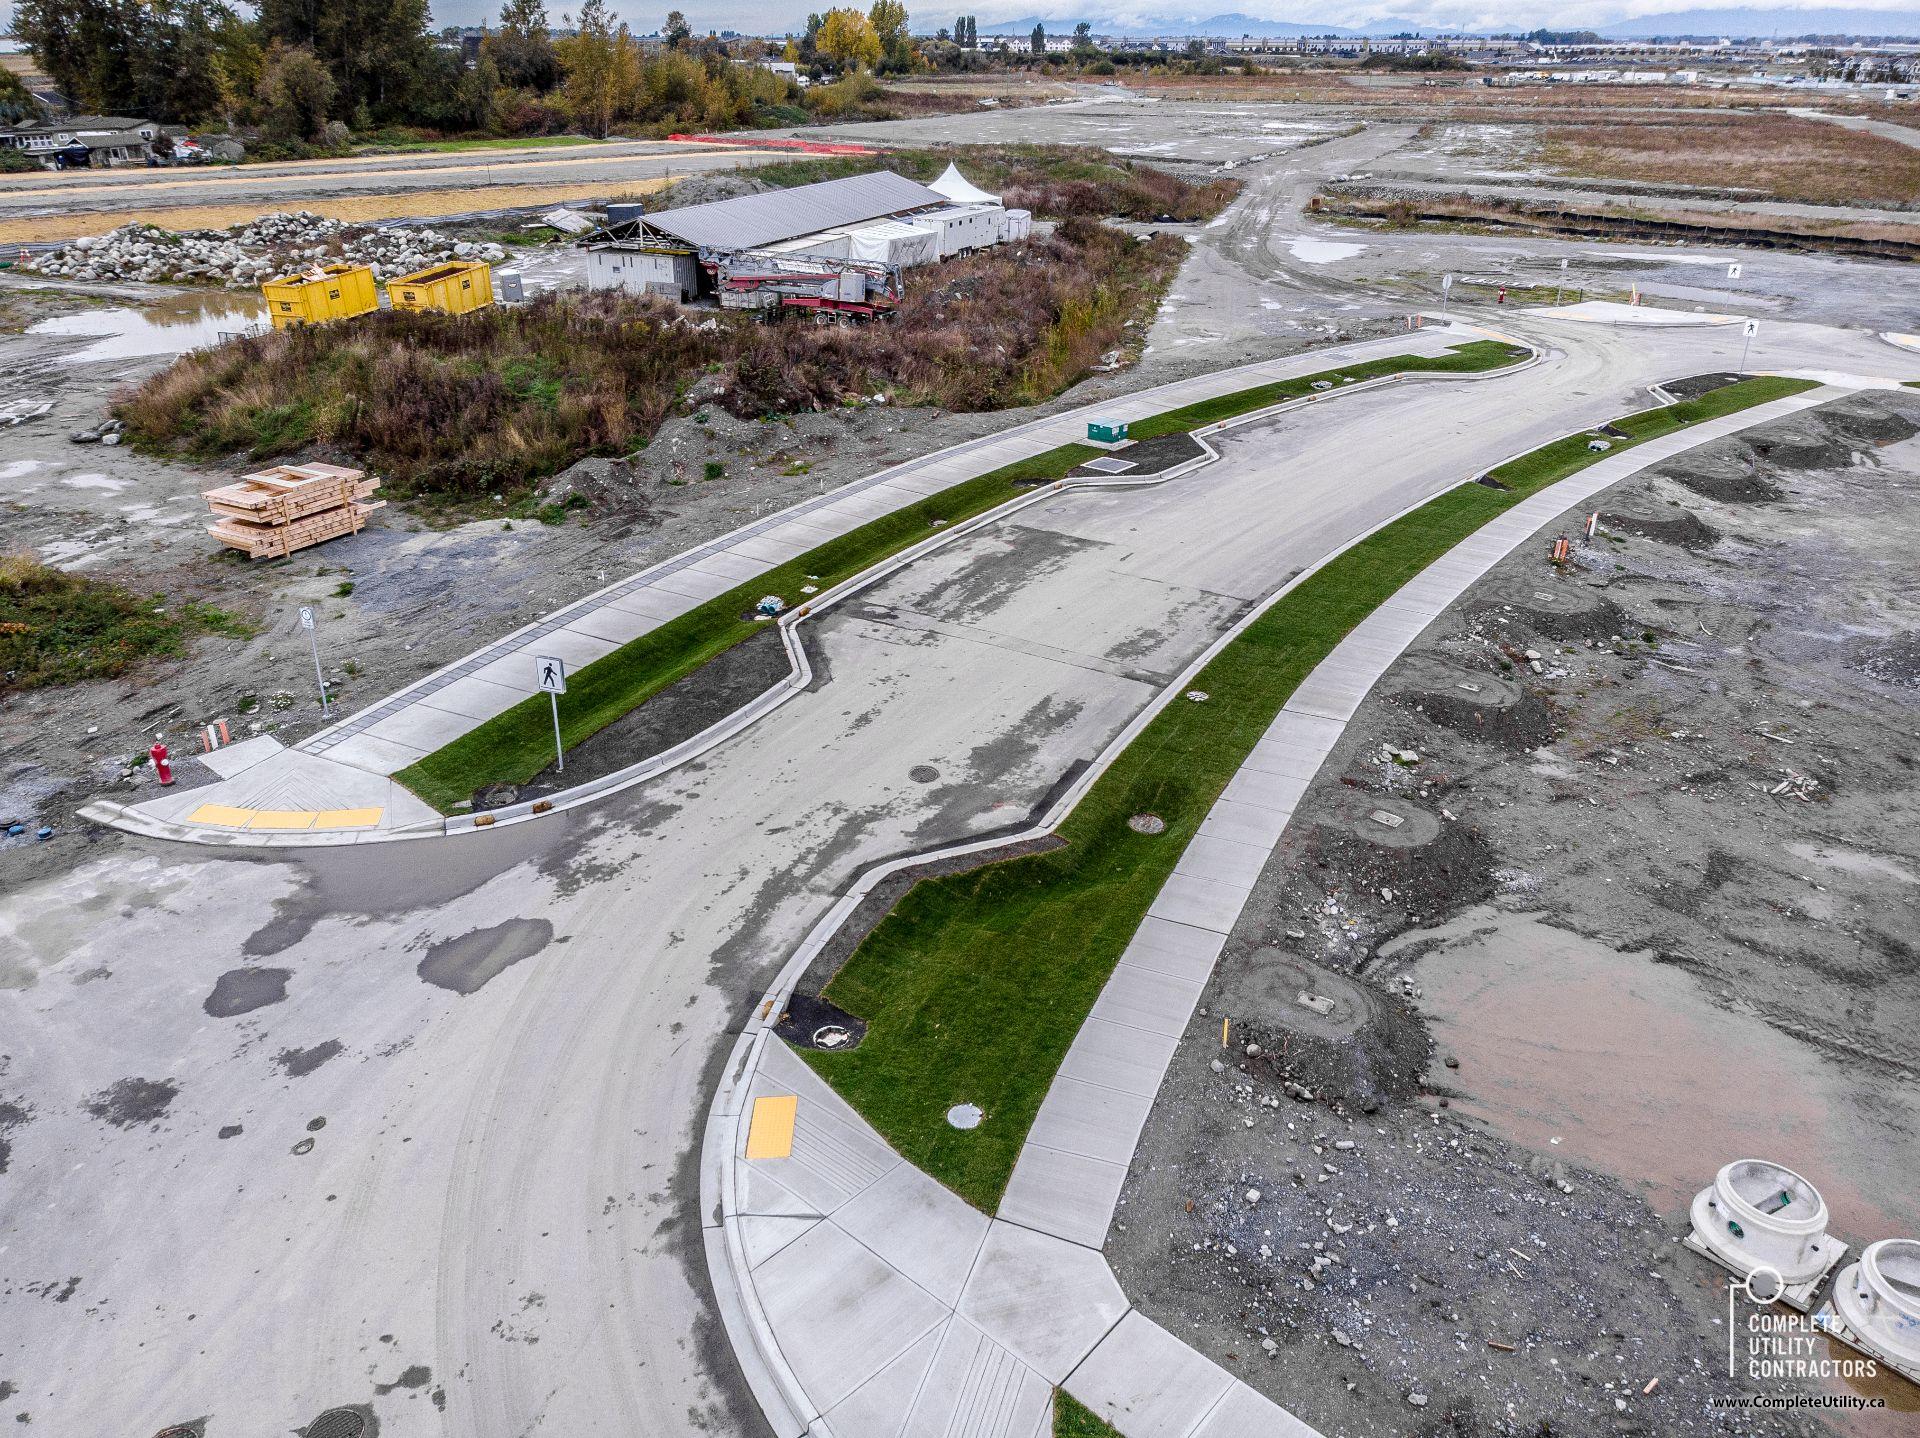
Watermain Replacement and Installations
Tsawwassen First Nations Precinct G1, Phase 1. The project's scope included supply, installation and commissioning of a sanitary pump station, installations of 460 meters of 200mm PVC watermain, 200 meters of 300mm PVC watermain, 500 meters of 200mm sanitary sewer, 300 meters of 450mm storm sewer, 2,400 meters of hydro ducts, 2,000 meters of Shaw and Telus ducts, 16 street lights, concrete curbing and pathways construction.
back
|
1
to
4
of
4
Welcome
Thank you for visiting our site.
Complete Utility Contractors
Close